#gardening
Indoor Germination Info
As of this time, it won’t be until about January 1 2025 that I start to test about 8 seeds of each kind indoors to see if they are capable of doing any germinating.
The rest of them are pretty dry, but just like the other ones in jars.
Seeds that were dry before last shown seeds
This is the collection of seeds that I had not included in the previous posts about fermented seeds.
#1: Watermelon 1
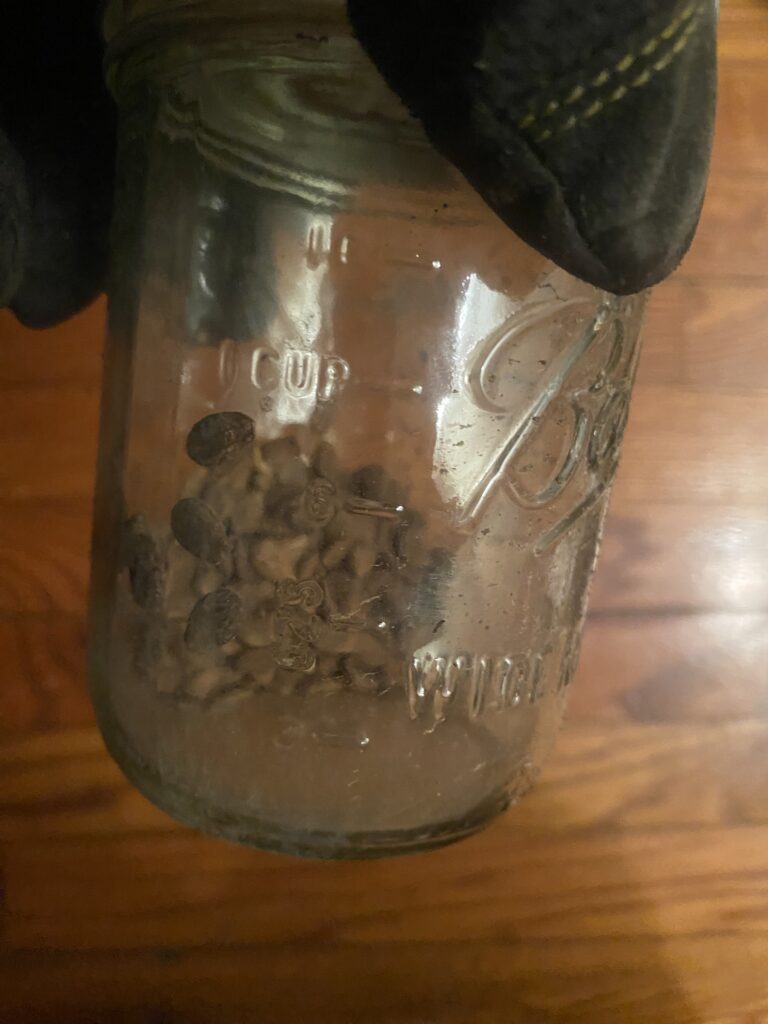
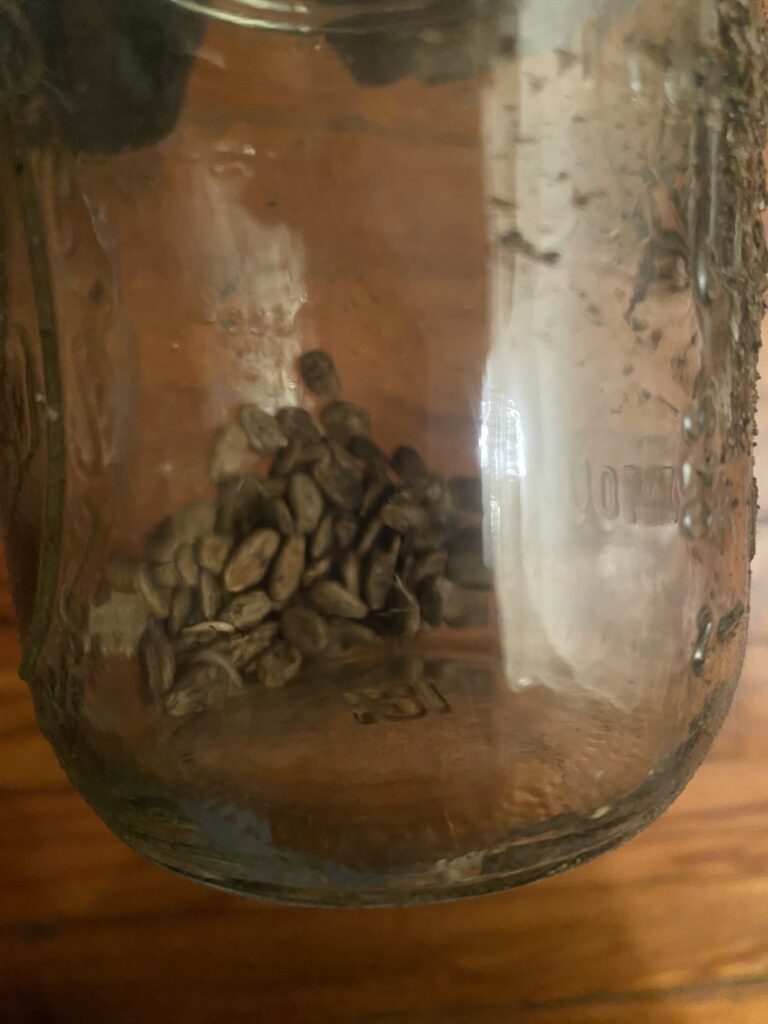
#2: Watermelon 2
#3 Cherry Heirlooms
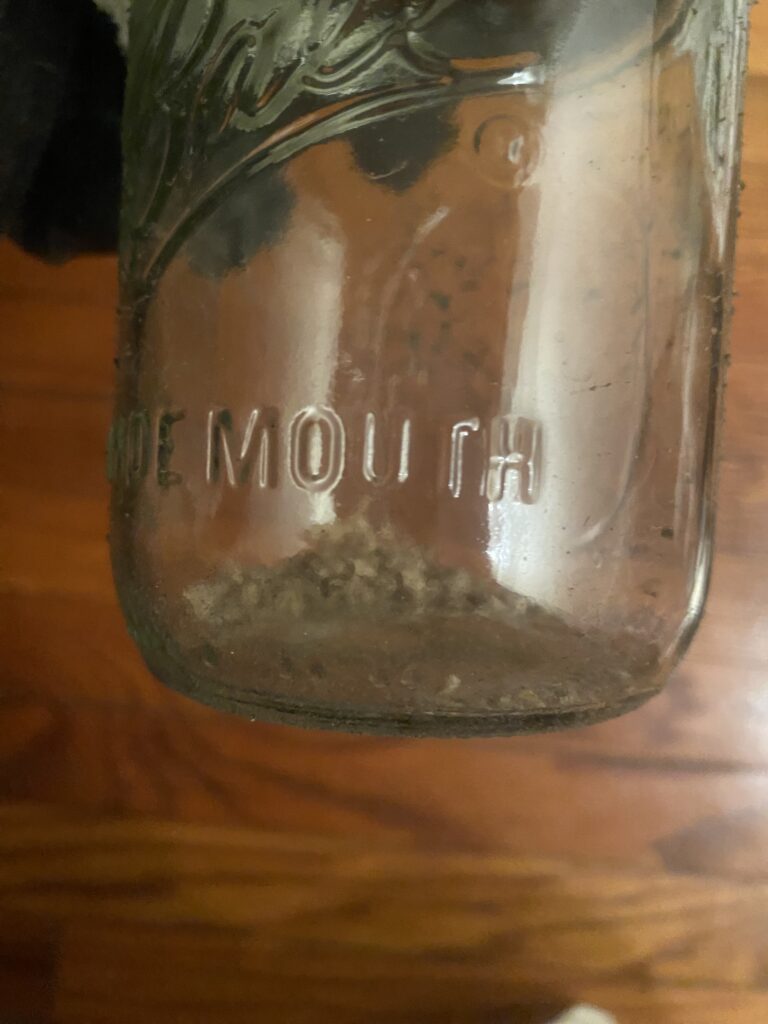
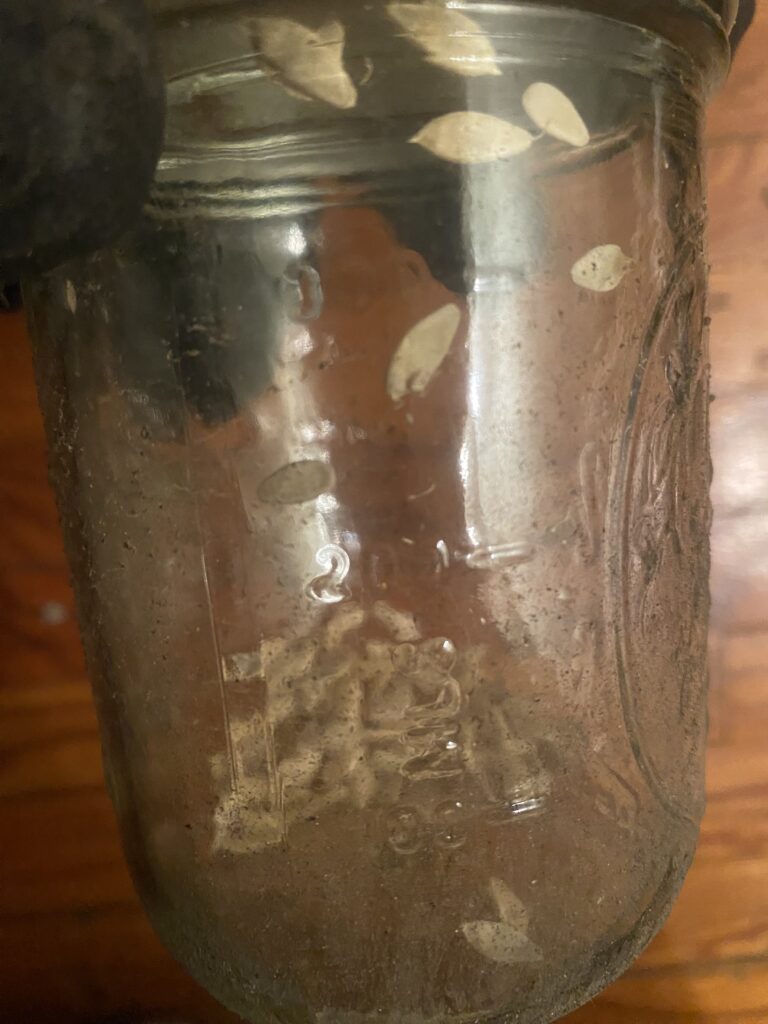
#4 Cucumbers
(Not sure what is going on, seems a bit moist inside)
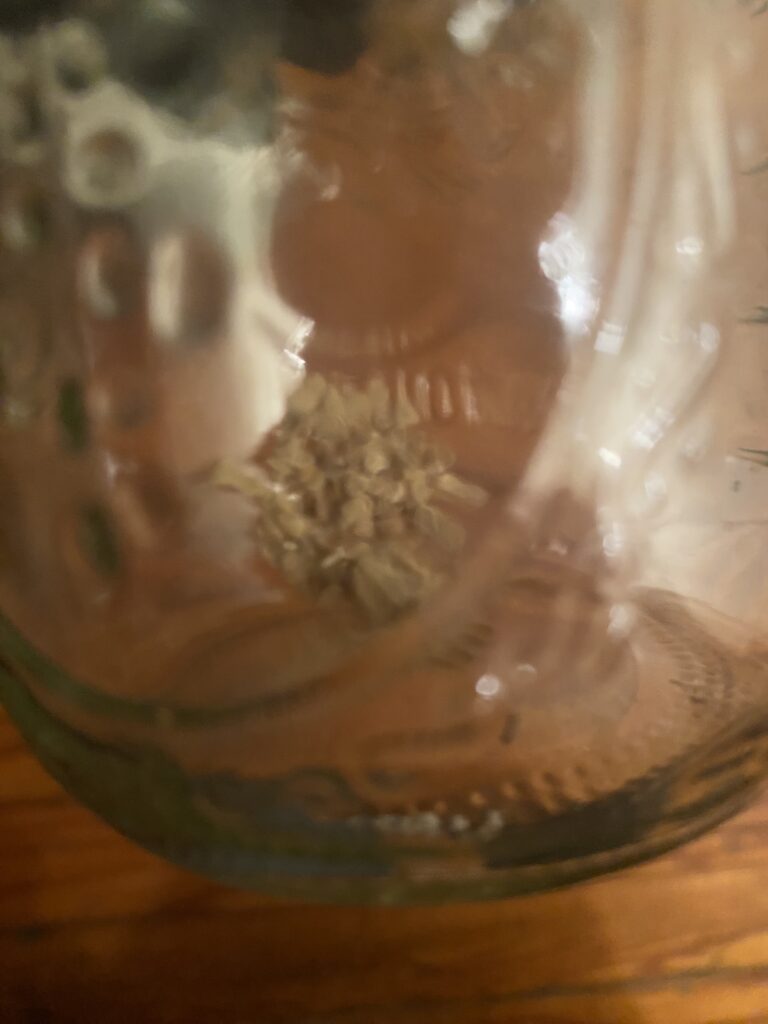
#5 Heirloom Tomatoes
Previously shown seeds in drying stage after fermentiation
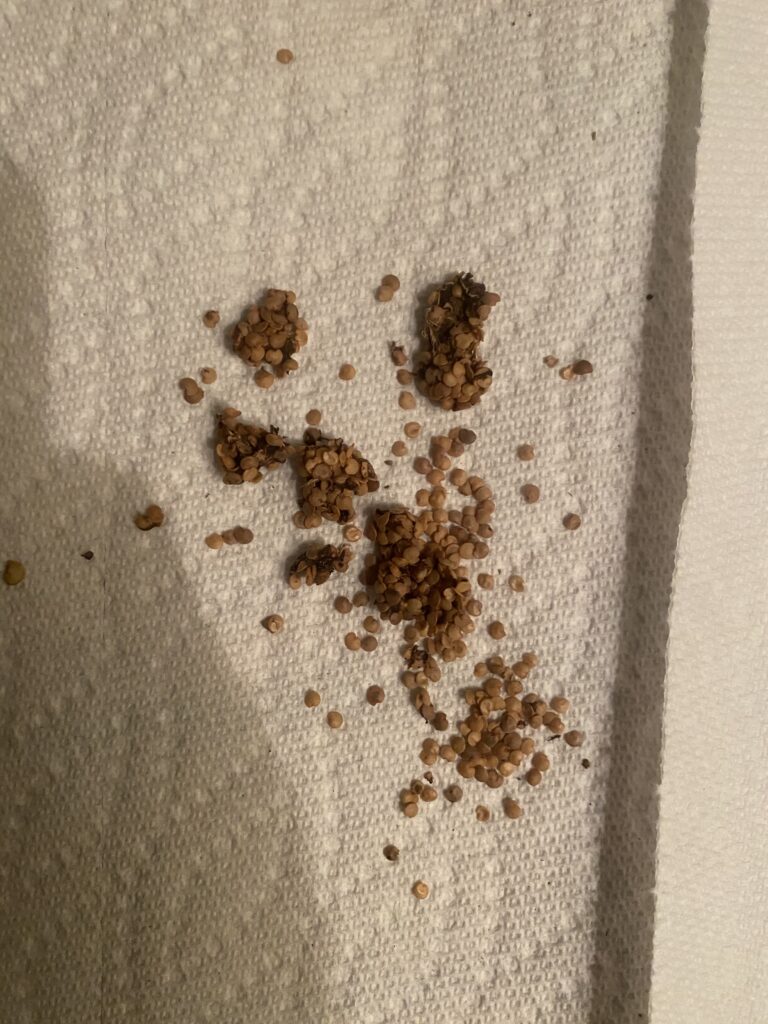
#1 Eggplants
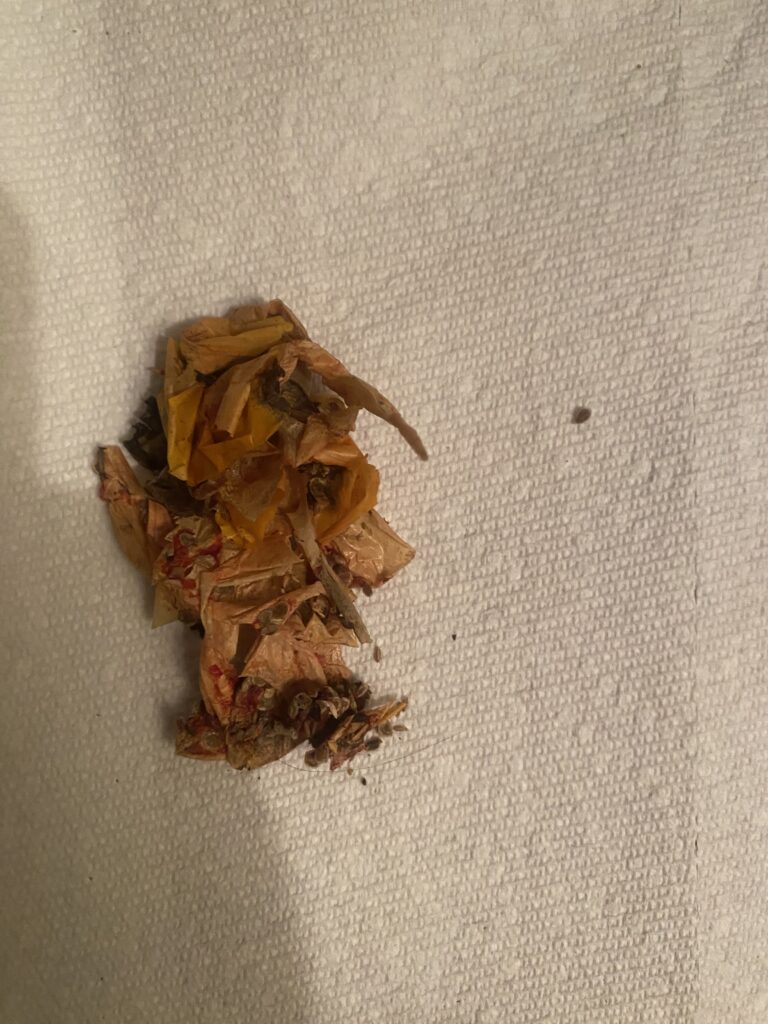
#2 HeirloomTomatoes
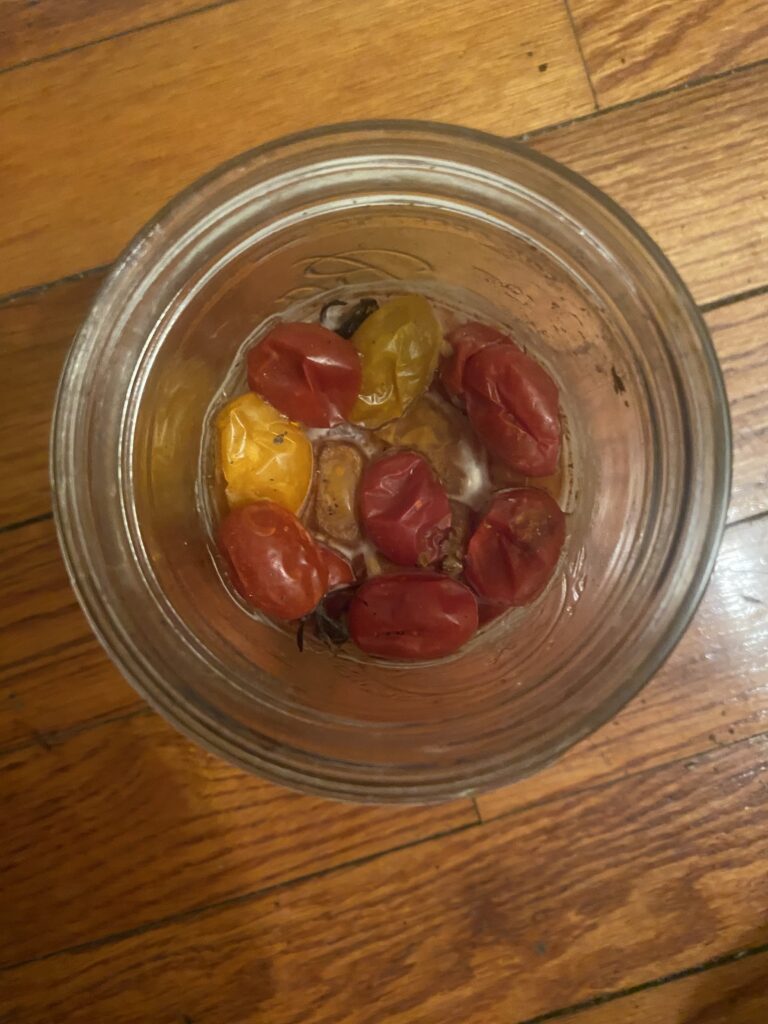
#3 Small Cherry Tomatoes
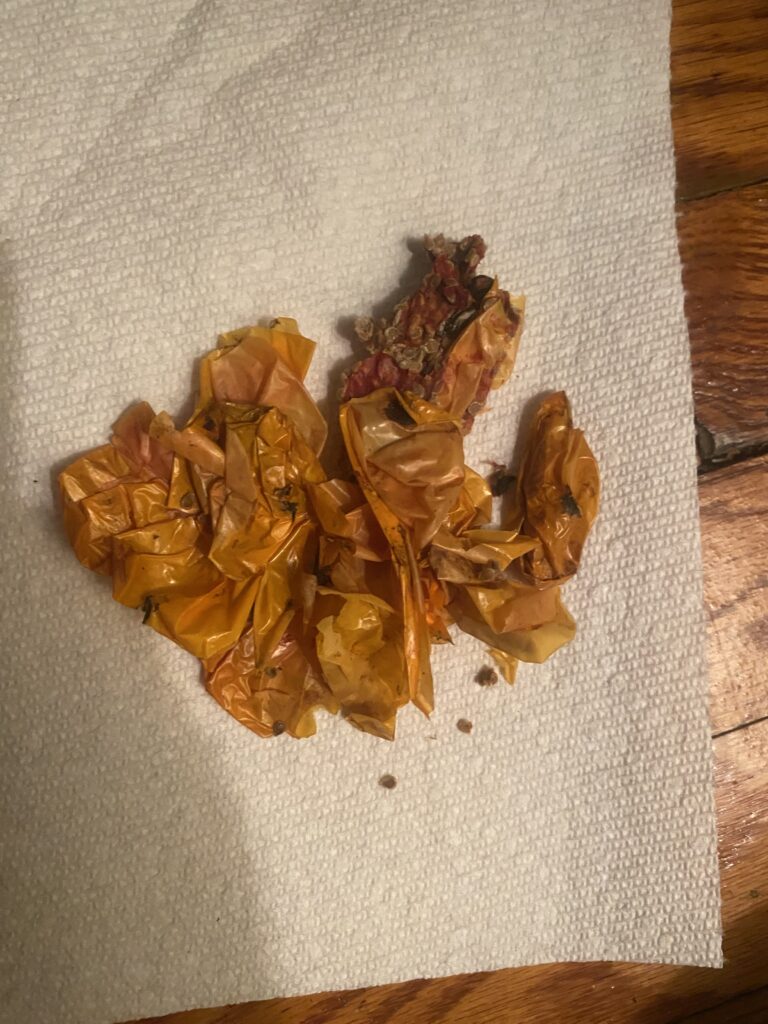
#4 Large Cherry Tomatoes
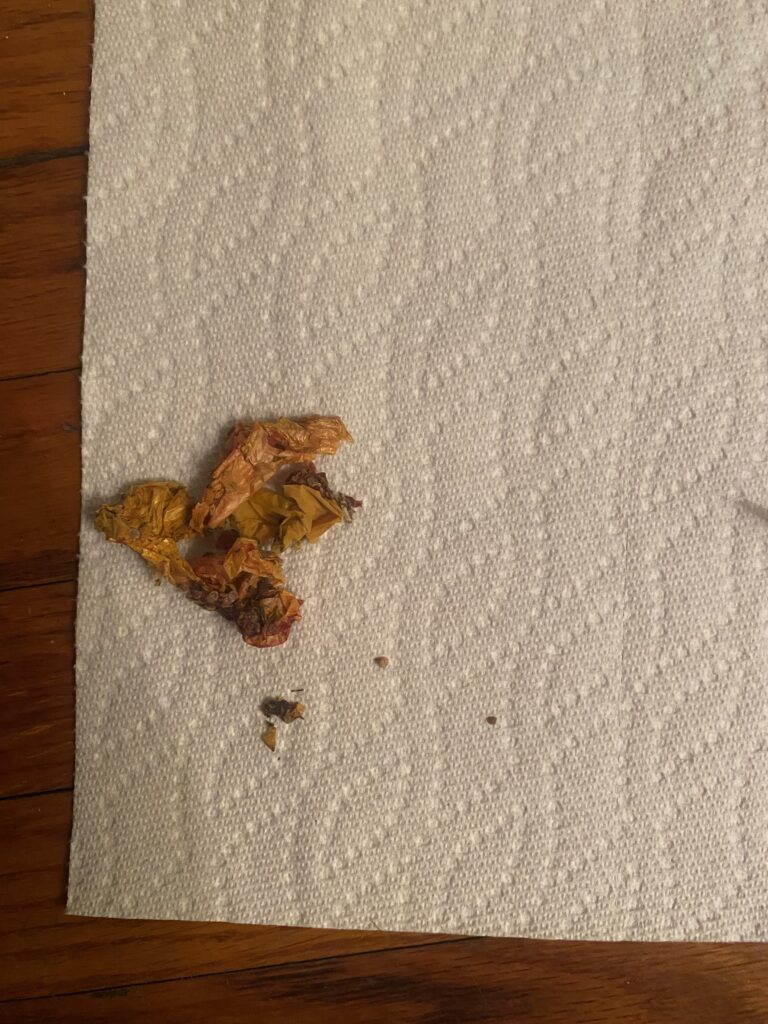
#5 Roma Tomatoes
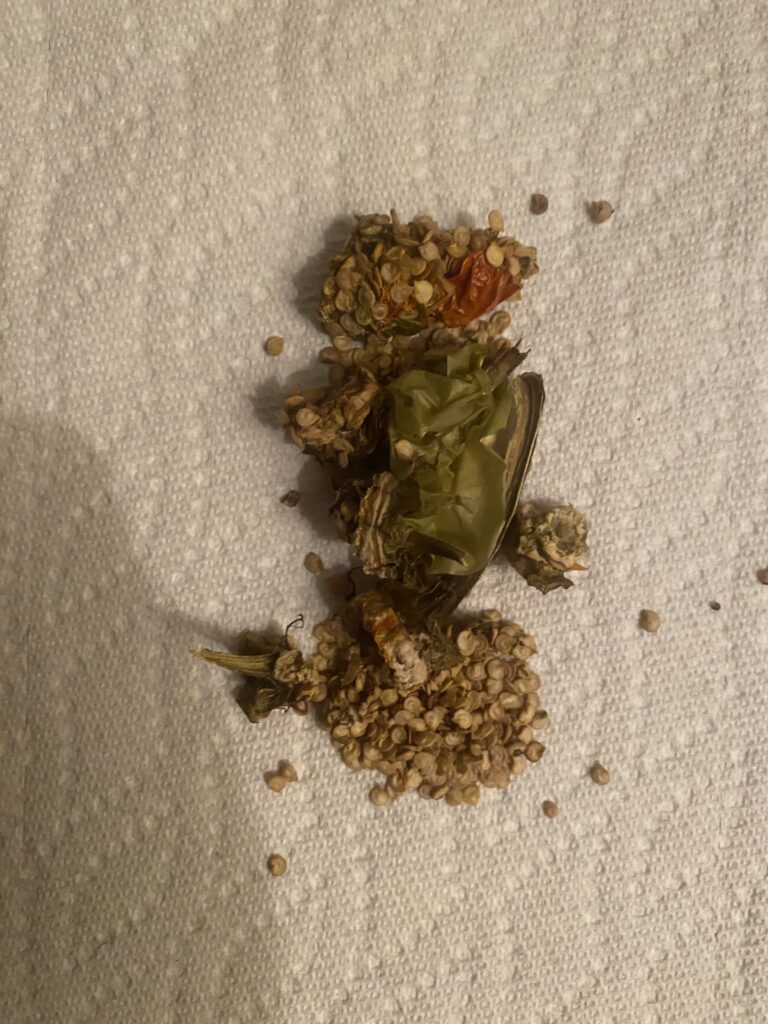
#6 Bell Peppers
Final Determination to store most of the seeds until March
Hopefully by march, I will be able to try and grow all of these seeds and report back special info that I find. I will definitely share info about if any of them germinate because as I mentioned, they are almost like the other ones I had dried that didn’t ferment in liquid. There seems to be some kind of extra mold and loss of density compared to the seeds we’re buying online and from stores around town. Even though there is an easy way to rinse the seeds bare of their enzymes and dry hard, my first approach to saving my own seeds was different. Next season, I will look at one big factor: did the seeds from last year that I fermented in liquid grow or not because it will help me consider the next step in the seed saving process.
More about the potting mix, seed starting mix and wood ash
As shown in the video above, this is a plant pot filled with store bought potting mix from last season, also some of my own fertilizer inside, but its very dry because I put a ton of wood ash inside. I am excited to share the next steps coming soon because I will be testing about 40 seeds for indoor germination casually through January of most of the varieties that I have. The next step for me is to cut this soil thoroughly to make it less thick and ashy with moist and fresh soil from outside. Looking forward to sharing soon!